Site Preparation & Footings · Toronto & GTA
Step-by-Step Guide: How to Prepare Your Land and Dig Footings Before Construction
What happens before the first concrete pour: the permits, locates, clearing, topsoil stripping and footing excavation, in the order they have to happen on a Toronto or GTA lot.
In this guide
Quick answer: what comes before the footings are poured?
To prepare land and dig footings, follow eight steps: confirm the permit and drawings, request utility locates, protect trees, clear the site, strip the topsoil, lay out the footings, excavate to undisturbed soil at the drawing depth, and pass the municipal footing inspection before any concrete goes in. For a typical house, footings sit at least 1.2 metres below finished ground, and in Toronto the inspector must see the forms before the pour.
Which Rules Apply to Footing Excavation in Toronto?
Footing excavation in Toronto sits under three sets of rules at once. Knowing which one answers which question saves a lot of phone calls.
- The Ontario Building Code decides how deep footings must be, what they must bear on and which inspections are mandatory.
- Toronto Building and City bylaws decide the permit, the inspection booking and the tree and road-allowance rules.
- Ontario Regulation 213/91 decides how the excavation itself must be made safe for the people working in it.
A note on accuracy. Code requirements, bylaws and City processes change from time to time. This article is general information, not legal or engineering advice. Confirm the rules for your property with Toronto Building, your designer and your engineer.
Step-by-Step: From Bare Lot to Footing Inspection
Each step below depends on the one before it. Skipping ahead is how crews end up digging twice.
Confirm the permit, the drawings and the property lines
Excavation for a new foundation is normally covered by the building permit for the new construction. The stamped drawings that come with it set the footing elevations, sizes and locations, and Toronto Building expects a full-size coloured print of them on site for inspections. Do not dig from a sketch, and do not start without the permit: our guide to the fine for building without a permit in Ontario explains why that gets expensive.
If the property corners are not clearly marked, stakes from an Ontario land surveyor keep the layout and the setbacks honest before the first bucket goes in.
Request utility locates at least five business days ahead
Contact Ontario One Call before any work that breaks ground. The request is free, it has to be made at least five business days before the work starts, and the resulting locates are valid for at least 60 days, so time the request to the real dig date rather than the permit date.
Within one metre of a marked line, dig by hand or by vacuum extraction. Ontario One Call does not mark private lines, such as a gas line running to a pool heater, so those need a private locator.
Protect the trees and check the City’s tree rules
In Toronto, injuring or removing a privately owned tree with a trunk diameter of 30 cm or more, measured 1.4 m above the ground, needs a City permit. City-owned street trees are protected at any size, and construction inside a protected tree’s protection zone can also trigger a permit. The zone grows with trunk size, so a large tree near the footprint can change where the building sits.
City Council has endorsed lowering the private-tree threshold to 20 cm, with the details due in 2027, so confirm the current rule with Toronto Urban Forestry before you finalize the footprint. Ravine and natural feature areas fall under a separate bylaw with larger protection distances.
Clear the site and set up the work zone
Remove vegetation, debris, old paving and anything else in the build zone and in the machine’s path. If an old house or foundation is still standing, it has to come out first, and that is a separate demolition scope.
Decide now where the spoil will go. Equipment, excavated soil and materials must stay at least one metre back from the edge of the excavation, and a tall pile too close to the edge can load the walls.

A lot cleared and ready for excavation, executed by Wallace Excavation & Demolition. Strip the topsoil and organic matter
The Ontario Building Code requires foundation excavations to extend to undisturbed soil, so topsoil and organic material under the building are removed, not built on. Strip the topsoil and stockpile it apart from the clean subsoil: topsoil can go back on for final landscaping, while mixed material is harder to reuse.
Keep stockpiles away from drainage paths so rain does not wash silt toward a neighbouring lot or the street.

Site stripped and soil stockpiled, executed by Wallace Excavation & Demolition. Lay out the footings
Transfer the footing lines from the drawings to the ground with stakes, string lines or batter boards set well outside the dig, so they survive the excavation. Check that the layout is square by measuring the diagonals, and fix an elevation reference so every depth is measured from the same point. Paint the lines on the ground for the machine operator.
A layout error is cheapest to fix before the first bucket, and most expensive once concrete is in it.
Dig footings to undisturbed soil at the depth on the drawings
Excavate to the elevation shown on the permit drawings, which cannot be shallower than the Code minimum (see the questions below). The machine takes the bulk of the soil and the last stretch is trimmed carefully, so each footing sits on natural, undisturbed soil rather than loosened ground.
If the bottom is dug too deep, do not backfill it with loose soil. Ask the designer how to restore it, which can include compacted granular fill if the design allows it. Keep the excavation reasonably free of water, and keep the bottom from freezing.
Once the cut is deeper than 1.2 metres and workers will enter it, the walls need sloping or a support system under Ontario Regulation 213/91. Our guide to Toronto shoring regulations explains when that becomes mandatory.

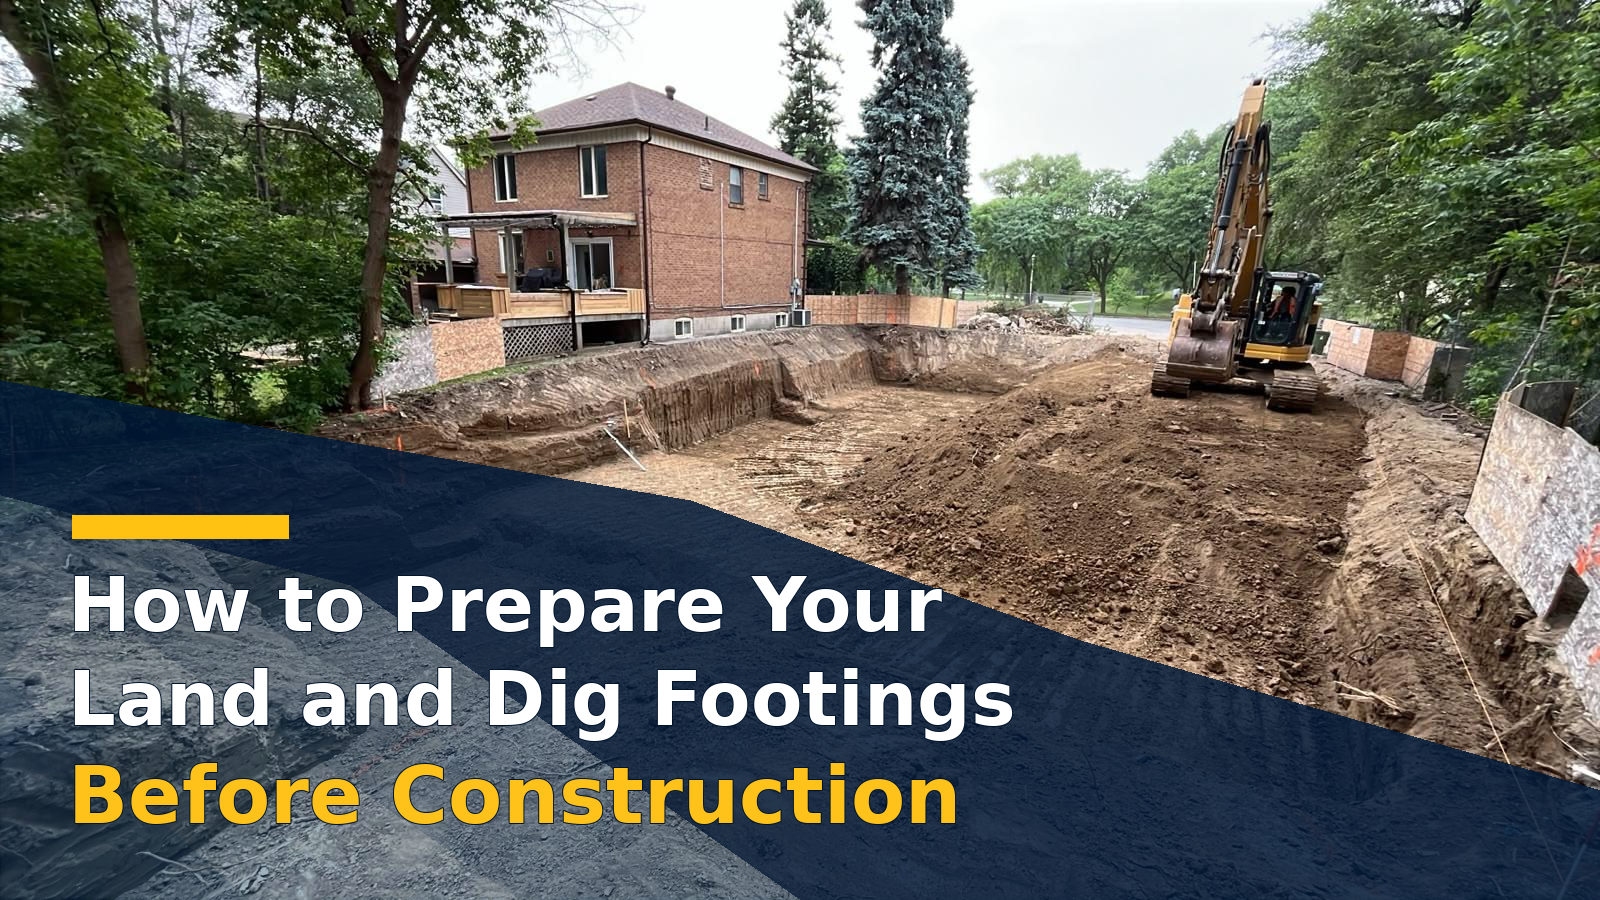
Footing excavation with layout marks, executed by Wallace Excavation & Demolition. Form the footings and pass the inspection before you pour
Build the footing forms to the drawing sizes and clear the bottom of loose soil, debris and water. Then request the footing inspection from Toronto Building, which takes place when the formwork is complete and before concrete is poured. Inspections run Monday to Friday and are requested online, so book the inspector before the concrete is scheduled.
The inspector must be able to see the whole element, and anything covered before it is inspected may have to be uncovered. After approval, pour, and protect the fresh concrete and the soil beneath it from frost in cold weather.
Common Questions About How to Prepare Land and Dig Footings
What is the difference between footings and a foundation?
Footings are the wide concrete base that spreads the building’s load onto the soil. The foundation walls or piers sit on top of the footings and carry the structure above, so excavating for a foundation always means excavating for its footings too.
How deep do footings need to be in Toronto?
For a typical house, the Ontario Building Code sets a minimum of 1.2 metres from finished ground to the underside of the footing, and the depth also cannot be less than the depth of frost penetration. A few conditions change that, such as bearing on sound rock or certain soils under a heated basement, so the permit drawings are the final word.
How wide and thick should footings be?
Footing width and thickness depend on the number of storeys, the wall loads and the bearing capacity of the soil, so they come from the permit drawings and not from a rule of thumb. The Code’s standard sizes assume soil with a bearing capacity of at least 75 kPa. Weaker soil means the footings have to be designed by an engineer.
Can footings be dug in winter?
Yes, with protection. Frozen ground cannot carry a building, so the bottom of the excavation must be kept from freezing, and the concrete and the soil under it have to be protected until the concrete has gained strength. Agree on a frost-protection plan with your contractor before the pour, not after the first cold night.
What if I find water or soft soil at the bottom of the excavation?
Stop and bring in the designer or an engineer before forming. Water has to be removed before concrete goes in, because concrete cannot be poured into standing water, and soft or organic soil has to be dug out down to undisturbed soil. Do not cover a soft spot with gravel unless the designer or the inspector tells you to.
What happens to the soil that comes out of the excavation?
Soil that leaves the site is regulated in Ontario under the On-Site and Excess Soil Management regulation, O. Reg. 406/19. The project leader, usually the owner, has responsibilities that depend on the size and land use of the project. Ask your contractor in writing how the soil will be hauled and where it goes.
How much does footing excavation cost in Toronto?
There is no flat rate. The price follows the depth and footprint of the excavation, the soil conditions, site access, whether shoring is needed and how much soil has to be hauled away. Wallace Excavation & Demolition reviews the site and your permit drawings, then gives a written estimate.
Can I dig my own footings?
Owners can do some of this work, but the risks are real. You still have to request locates, follow the building permit, and keep any cut deeper than 1.2 metres safe, and a footing that fails inspection has to be corrected before you can pour. Most owners hire an excavation contractor and keep the designer and the inspector in the loop.
Footing Excavation Across Toronto and the GTA
Wallace Excavation & Demolition is based in Etobicoke and handles footing excavation, site preparation and excavation for residential and commercial clients in the cities below. The Ontario Building Code applies across the province, but each city runs its own permit and inspection process, so the first step is confirming what your municipality requires for your address.
- Toronto
- Etobicoke
- North York
- East York
- Mississauga
- Brampton
- Vaughan
- Markham
- Richmond Hill
- Burlington
- Milton
Why Hire Wallace Excavation & Demolition for Your Footings
The footing excavation is the first physical step of your build, and everything above it depends on getting it right. Here is how Wallace Excavation & Demolition approaches it.
Site preparation and excavation in one sequence
Clearing, demolition of what is standing, topsoil stripping, excavation and shoring flow into each other. One contractor responsible for the whole sequence removes the handoffs where schedules stall.
Digging to your drawings
We excavate to the elevations on your permit drawings and trim the bottom of the cut so the inspector sees undisturbed soil, not a guess.
Ready for inspection day
We schedule the work around the footing inspection, so the excavation is clean and ready when Toronto Building arrives.
Get a Precise Footing Excavation Quote
Send us the address and a copy of your permit drawings. You will get a written scope that names the excavation depth, the soil handling and the schedule, with no obligation.
Get a Free Quote from Wallace Excavation & Demolition